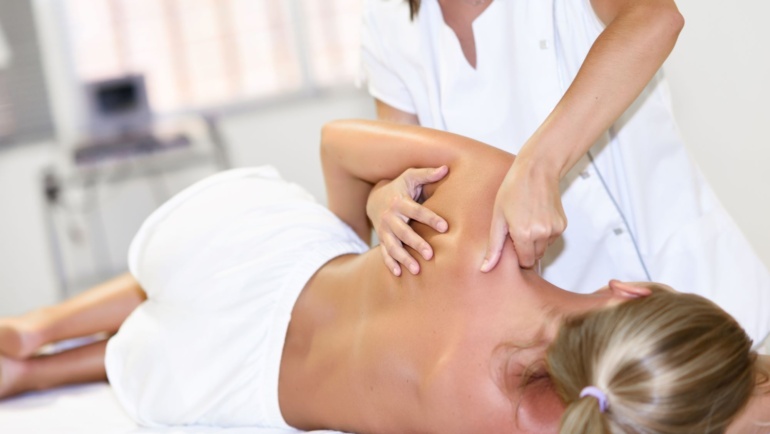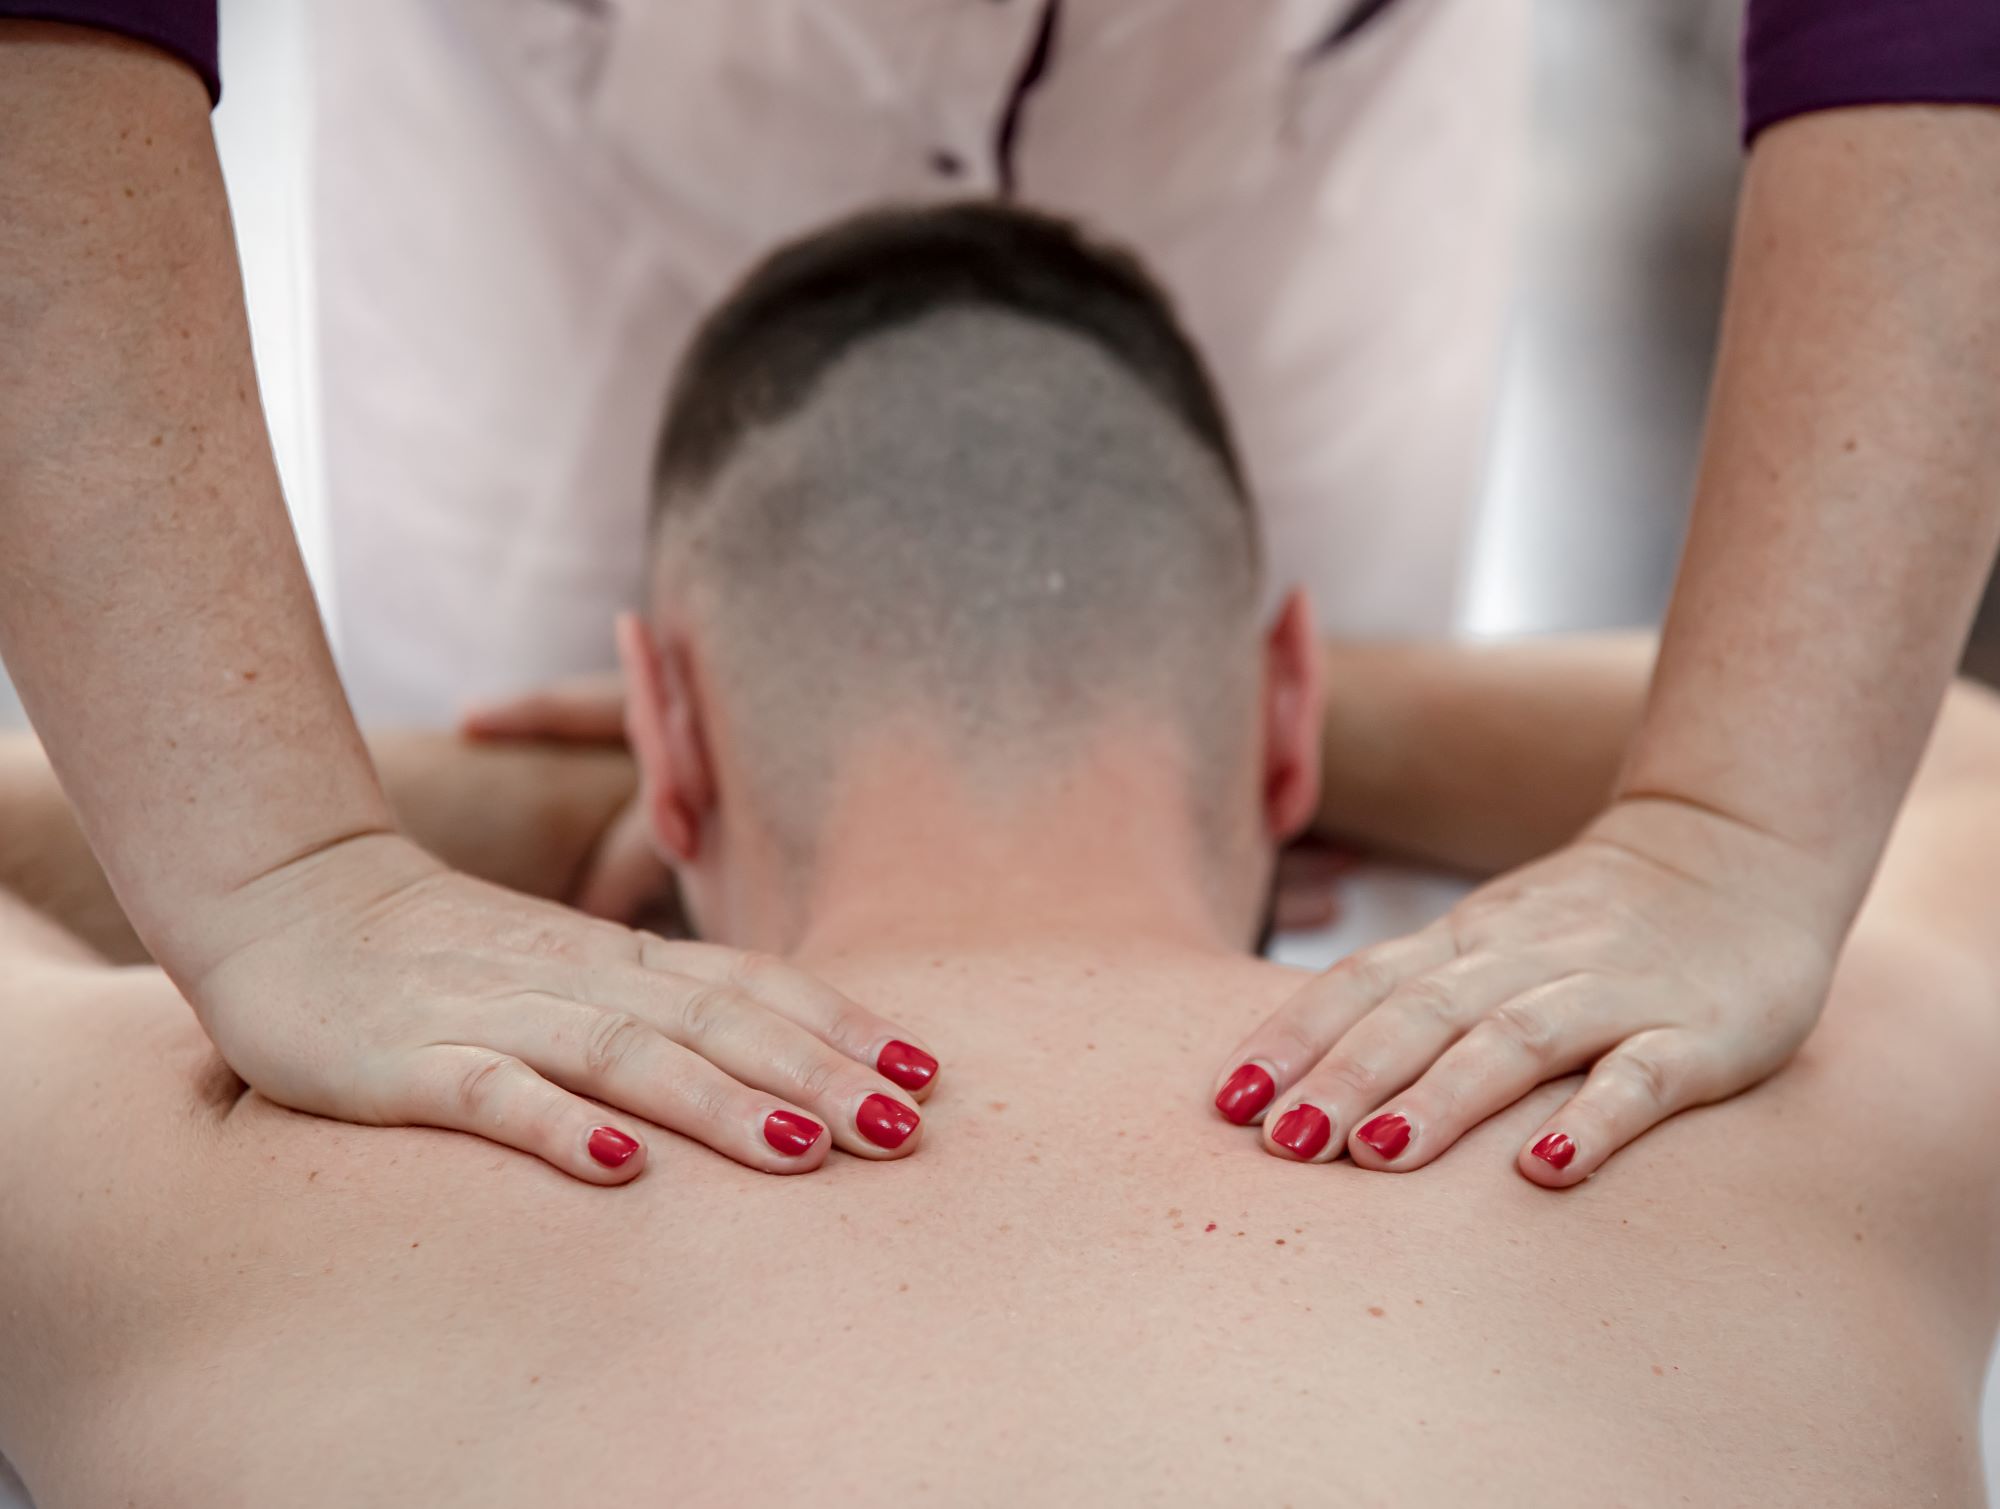
A home massage can help create a sense of relaxation and ease everyday muscle tension after work, exercise, or prolonged sitting. You do not need professional equipment to get started, but you should understand how to apply pressure safely and recognize when professional care is more appropriate.
This practical guide explains the fundamental strokes, preparation steps, safety rules, and a simple sequence you can use when massaging a partner, friend, or family member.
What Should You Know Before Giving a Massage?
Before touching the recipient, ask for consent and discuss:
- the areas they want you to focus on;
- existing pain, injuries, swelling, or skin irritation;
- recent surgery or medical procedures;
- pregnancy or chronic health conditions;
- allergies to oils, lotions, or fragrances;
- the level of pressure they find comfortable.
Ask the person to report any pain, tingling, numbness, dizziness, or discomfort immediately. Massage should feel controlled and comfortable. Pain is not evidence that a stroke is effective.
Anyone with an acute injury, unexplained swelling, severe pain, a blood-clotting condition, or a recent operation should consult an appropriate healthcare professional before receiving massage.
What Do You Need for an At-Home Massage?
Prepare the space before you begin. You may need:
- a firm bed, padded floor mat, or stable chair;
- pillows to support the head, knees, or ankles;
- a clean towel or sheet;
- unscented massage oil or lotion;
- comfortable room temperature and soft lighting;
- clean, warm hands with short nails;
- a glass of water for afterward.
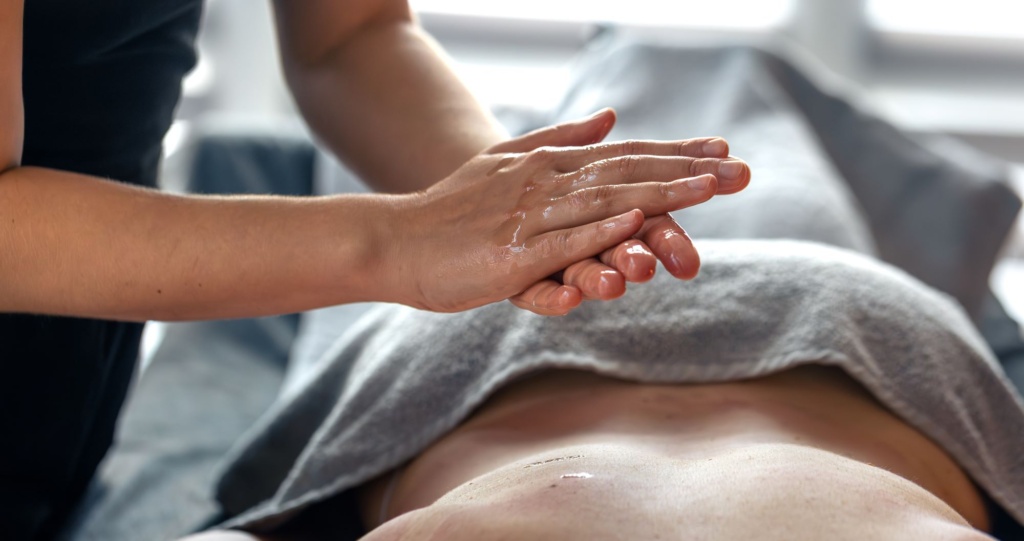
Remove watches, rings, and bracelets. Use only enough product to let your hands glide without losing control. Excessive oil can make pressure difficult to manage.
At Home Massage Techniques You Can Use Safely
Home massage should rely on slow, predictable strokes rather than forceful manipulation. Common types of massage strokes include gliding, kneading, compression, circular rubbing, tapping, and gentle vibration.
Each technique serves a different purpose within the session:
| Stroke | How it is performed | When to use it |
| Gliding | The palms move smoothly over a broad area | At the beginning, between other strokes, and at the end |
| Kneading | Soft tissue is gently lifted, rolled, or compressed | After the area has been warmed |
| Circular rubbing | The fingertips or palm make small, controlled circles | On broad muscular areas that feel tense |
| Compression | The palm applies gradual, stationary pressure | To relax a muscular area without sliding |
| Tapping | Relaxed hands alternate in a light rhythm | Briefly on larger muscular areas |
| Vibration | The hand produces a subtle shaking action | Near the end of the session |
These are not interchangeable with deep tissue or injury-focused treatment. A beginner should keep pressure light to moderate and avoid trying to diagnose or correct a physical problem.
Basic Massage Techniques: 5 Foundational Strokes
The following movements are commonly associated with Swedish-style massage. They can form the basis of a short relaxation session when performed gently.
- Effleurage: Long Gliding Strokes
Place relaxed palms flat against the skin and move them slowly along the muscle. Maintain even contact and avoid abrupt changes in speed or direction.
Effleurage works well at the beginning because it introduces touch gradually. It can also connect different parts of the session and provide a calm finish.
- Petrissage: Gentle Kneading
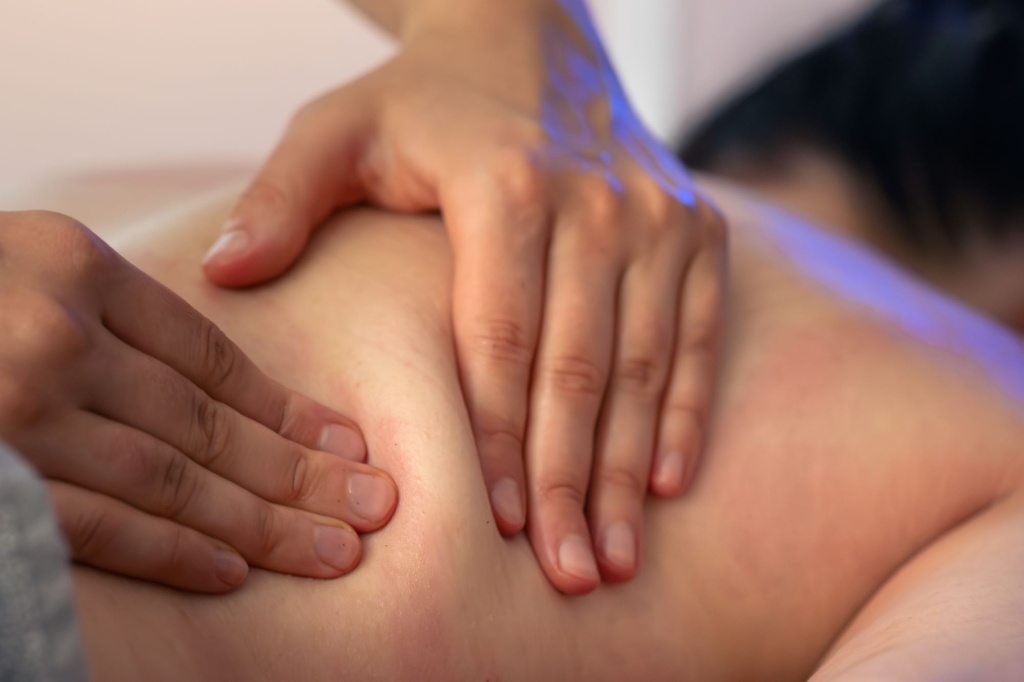
Use the palms and fingers to gently lift, squeeze, and release soft muscular tissue. Keep the action slow, and avoid pinching the skin.
Petrissage is best used after several gliding strokes. It is suitable for fleshy muscular areas such as the shoulders and calves, provided there is no injury, swelling, or tenderness.
- Friction: Small Circular Motions
Use the pads of the fingers or the heel of the hand to make small circles over a muscular area. Begin lightly and increase pressure only after receiving clear feedback.
Avoid pressing aggressively into a painful point. Working harder does not necessarily produce a better result and may leave the recipient sore.
- Tapotement: Light Rhythmic Tapping
Keep the wrists loose and alternate the hands in a gentle tapping rhythm. Use this stroke briefly on broad muscular areas rather than bones or joints.
Tapotement should feel light and controlled. Skip it when the recipient wants a calm session or finds rhythmic tapping uncomfortable.
- Vibration: Gentle Shaking
Place the palm on a muscle and create a subtle shaking action through the hand. The contact should remain soft and steady rather than sharp.
Vibration can be used near the end of a session before returning to slow gliding strokes.
How to Give a Massage Step by Step
A simple home session can last 10–20 minutes:
- Help the recipient settle into a supported position.
- Ask which areas need attention and confirm the preferred pressure.
- Warm the chosen area with slow gliding strokes.
- Add gentle kneading once the muscles feel relaxed.
- Use small circular motions on broad areas of tension.
- Add brief compression, tapping, or vibration if comfortable.
- Return to long, light strokes to finish.
- Ask how the recipient feels before they stand up.
This sequence is enough for a relaxing home session. There are no secret tricks that replace communication, steady contact, and appropriate pressure.
Easy Massage Methods for Different Areas
Different areas require different hand positions, pressure levels, and precautions. Start with broad, muscular areas, use slow movements, and reduce pressure around joints, bones, and sensitive tissues.
Back and Shoulders
Apply lotion between your hands before placing them on the recipient. Begin with broad strokes across the upper and middle back, keeping your hands on the muscles beside the spine.
Use:
- long gliding strokes with the palms;
- gentle circles over the shoulder muscles;
- light kneading across broad muscular areas;
- gradual palm compression.
Avoid direct pressure on the spine, shoulder blades, ribs, and lower-back bones. Never use an elbow or concentrated thumb pressure without professional training.
Hands and Forearms
Support the hand with one palm while using the other to make slow strokes from the wrist toward the forearm. Make small circles across the palm and gently work around the base of the thumb.
Avoid pulling the fingers, forcing the wrist, or pressing into inflamed joints. This area is a good choice for a short massage after desk work.
Legs and Calves
Support the leg and use both palms to glide over the calf muscles. Add gentle kneading only when the area is comfortable and free from injury, swelling, redness, or unusual warmth.
Avoid direct pressure behind the knee, over the shin bone, or on varicose veins. Never massage a swollen calf, especially when swelling is unexplained or affects only one side.
Feet
Place the foot on a pillow or hold it securely with one hand. Use the thumbs to make light circles across the sole, then glide from the heel toward the toes.
Keep pressure moderate around the arch and heel. Avoid open cuts, blisters, inflamed areas, and painful joints.
Massage Tips for Beginners
Use these practical rules to make home massages safer and more comfortable:
- begin more lightly than you think necessary;
- increase pressure gradually and only with permission;
- keep your hands relaxed and your pace consistent;
- use your palms for broad areas instead of relying on the thumbs;
- maintain contact when changing strokes;
- ask for feedback throughout the session;
- stop immediately if the recipient reports sharp pain or neurological symptoms;
- keep the first session short;
- avoid promising to treat an injury or medical condition.
Learning how to position your hands and control pressure is more valuable than trying to deliver a great result on the first attempt.
Common Mistakes to Avoid
The most frequent errors include:
- starting with deep pressure;
- moving too quickly or unpredictably;
- pressing directly on bones or joints;
- using excessive oil;
- repeatedly working over a painful spot;
- ignoring verbal or nonverbal feedback;
- continuing when your hands or wrists become fatigued;
- treating home massage as a substitute for clinical assessment.
If you are wondering how to do more advanced work, seek hands-on instruction from a qualified professional instead of increasing force independently.
When Should You Avoid At-Home Massage?
Avoid massage over:
- open wounds, burns, or active skin infections;
- fresh bruises or recent injuries;
- red, hot, or swollen areas;
- suspected fractures;
- varicose veins;
- areas with reduced sensation;
- surgical sites that have not been cleared for touch;
- painful areas without a known cause.
Extra caution is appropriate during pregnancy and for people with osteoporosis, clotting disorders, neuropathy, cancer, or significant cardiovascular conditions. Medical approval may be necessary depending on individual circumstances.
When Is Professional Massage a Better Choice?
Home massage is intended for general relaxation, not diagnosis or rehabilitation. Professional care is more appropriate when tension repeatedly returns, discomfort limits movement, an injury is involved, or deeper pressure is being considered.
Swedish massage is a logical option for clients who prefer flowing strokes and a relaxation-focused session. Those seeking work on persistent muscular tension can review deep tissue massage, while clients with pain or an existing condition may need an assessment before choosing medical massage.
If you are unsure which service is appropriate for someone, contact Lenox Hill Massage & Physical Therapy before booking. Our team can help you select an option based on your goals, preferred pressure, and relevant health considerations.